| LandingLens | LandingLens on Snowflake |
|---|---|
If you’re using , a “member” is considered to be a user that has logged in to your instance of .
Project Permissions
When you invite members to your project, you can choose how they can participate in your project. This is managed with Permissions. These are the types of Permissions:- Upload Data: Users can upload images.
- Train Model: Users can train the model.
- Deploy Model: Users can deploy the model.
- Direct Label: Users can label images.
Limit Project Access to Specific Members (Make Private)
- Open the project.
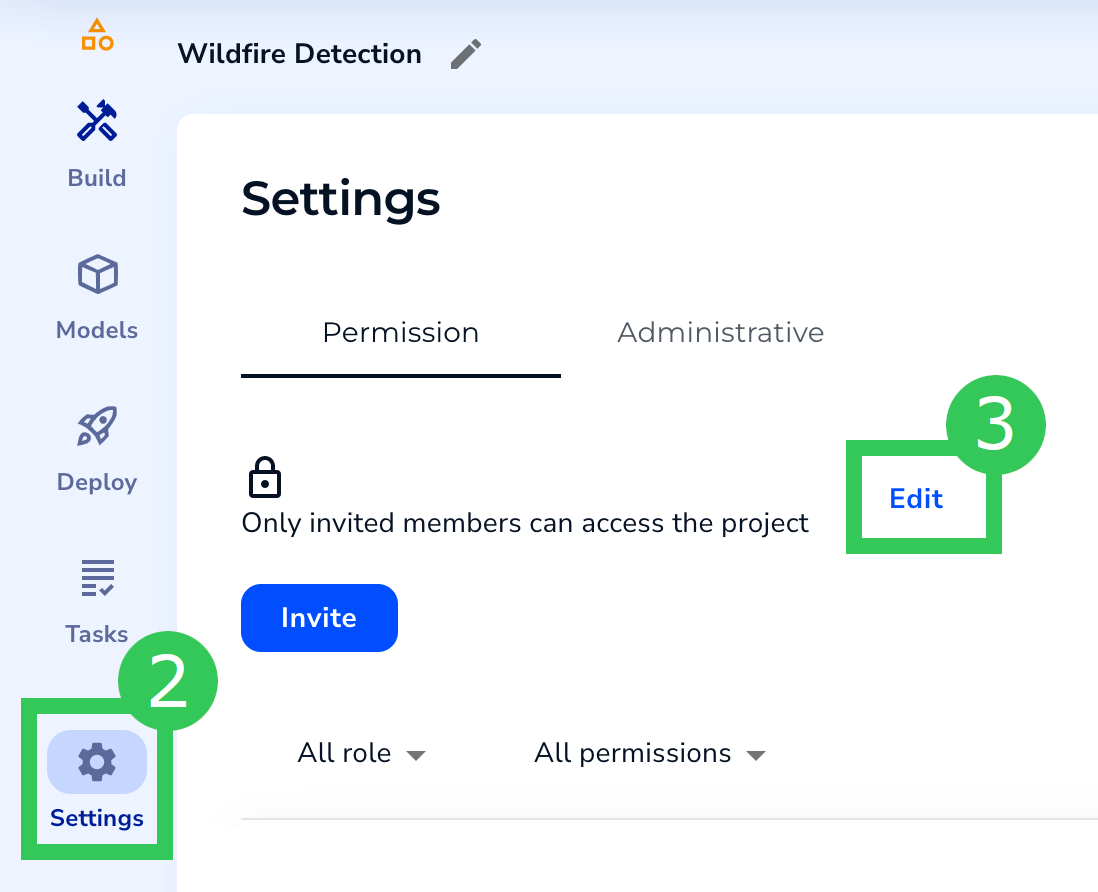
- Click Settings in the left sidebar.
- Click Edit on the Permission tab.
.png?fit=max&auto=format&n=fLJGwsiio3ioUQs5&q=85&s=9ef60592197a98c907ec52596c1f5b63)
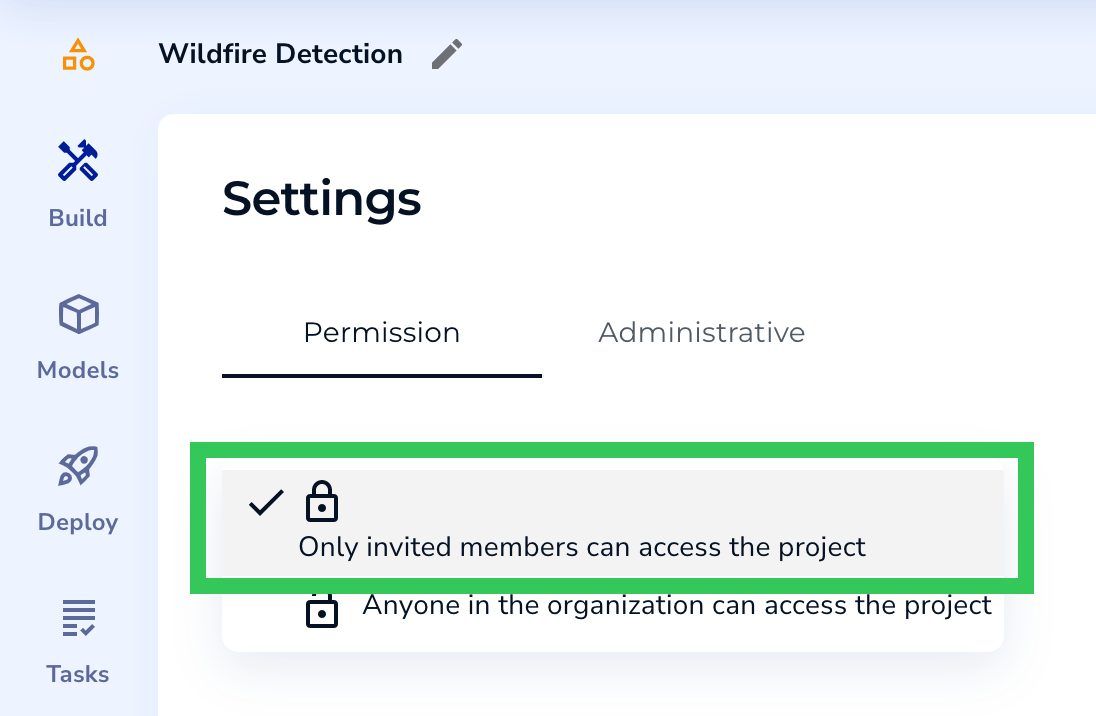
- Select Only invited members can access the project.
- Click Invite.
- Search by name to narrow down the list of users.
- Select the members you want to invite.
- Select the Project Permissions you want to give the member.
- Click Add Members to Projects. An email is sent to the users, inviting them to your project.
.png?fit=max&auto=format&n=fLJGwsiio3ioUQs5&q=85&s=b911de2ee69c1d7dc23a0ffff3f7ef50)
Member Actions on the Permission Tab
The Permission tab on the Settings page allows you to manage member access to projects. These are the actions you can perform:- Manage Permissions: Edit the Permissions of the member. This option is only available for members that have the “Standard” role.
- Change Role: Projects have three types of Roles—Owner, Labeler, and Standard.
- Owners are generally the creators of projects. They can perform any action on the project.
- Labelers can only label images.
- Standard members can have a mix of access to a project. Their access is defined with Permissions.
- Transfer Ownership: Make the selected user Owner of the project.
- Remove: Remove the member from the project.

After making an edit, click Done to save your updates.
Grant Project Access to All Members in Your Organization (Make Public)
If you’ve made a project private, you can make it public again. To do this:- Open the project.
- Click Settings in the left sidebar.
- Click Edit on the Permission tab.
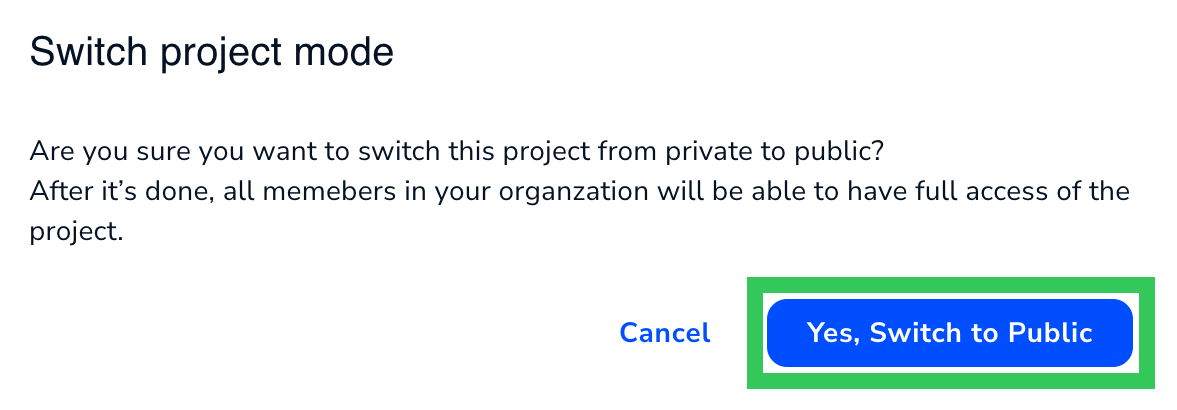
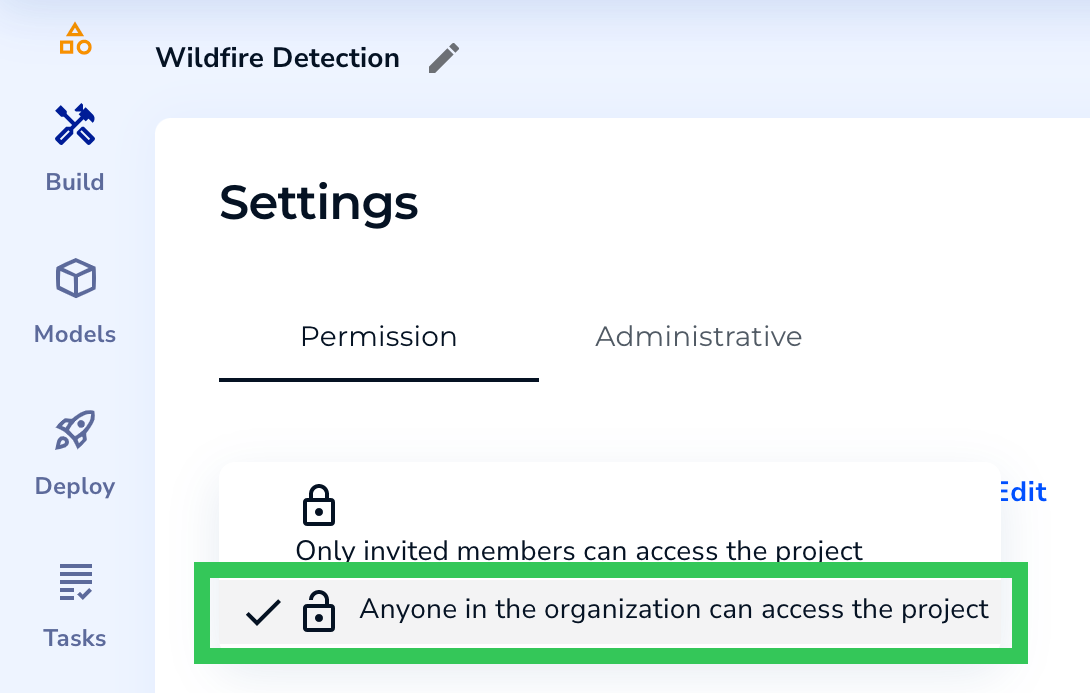
- Select Anyone in the organization can access the project.
- Confirm that you want to make the project public.