- You want the Playground to enforce schema rules and formatting requirements automatically, without needing to know them yourself
- You want immediate visual feedback on how the schema performs on your files
- You prefer a visual, guided experience over writing JSON directly
Workflow
Start a Schema
Use our AI-powered tools to generate a schema.
Edit & Validate
Update and edit the schema, and see how it works with your document.
Use the Schema
Export your schema to use with our library or API.
All files and their corresponding schemas are saved to a project. You can access these in Projects.
Create a Schema
Create a Schema with AI
Suggest Schema calls the API and consumes credits. See Build Extract Schema API pricing.
- Go to the Playground.
- Click the Extract tile.
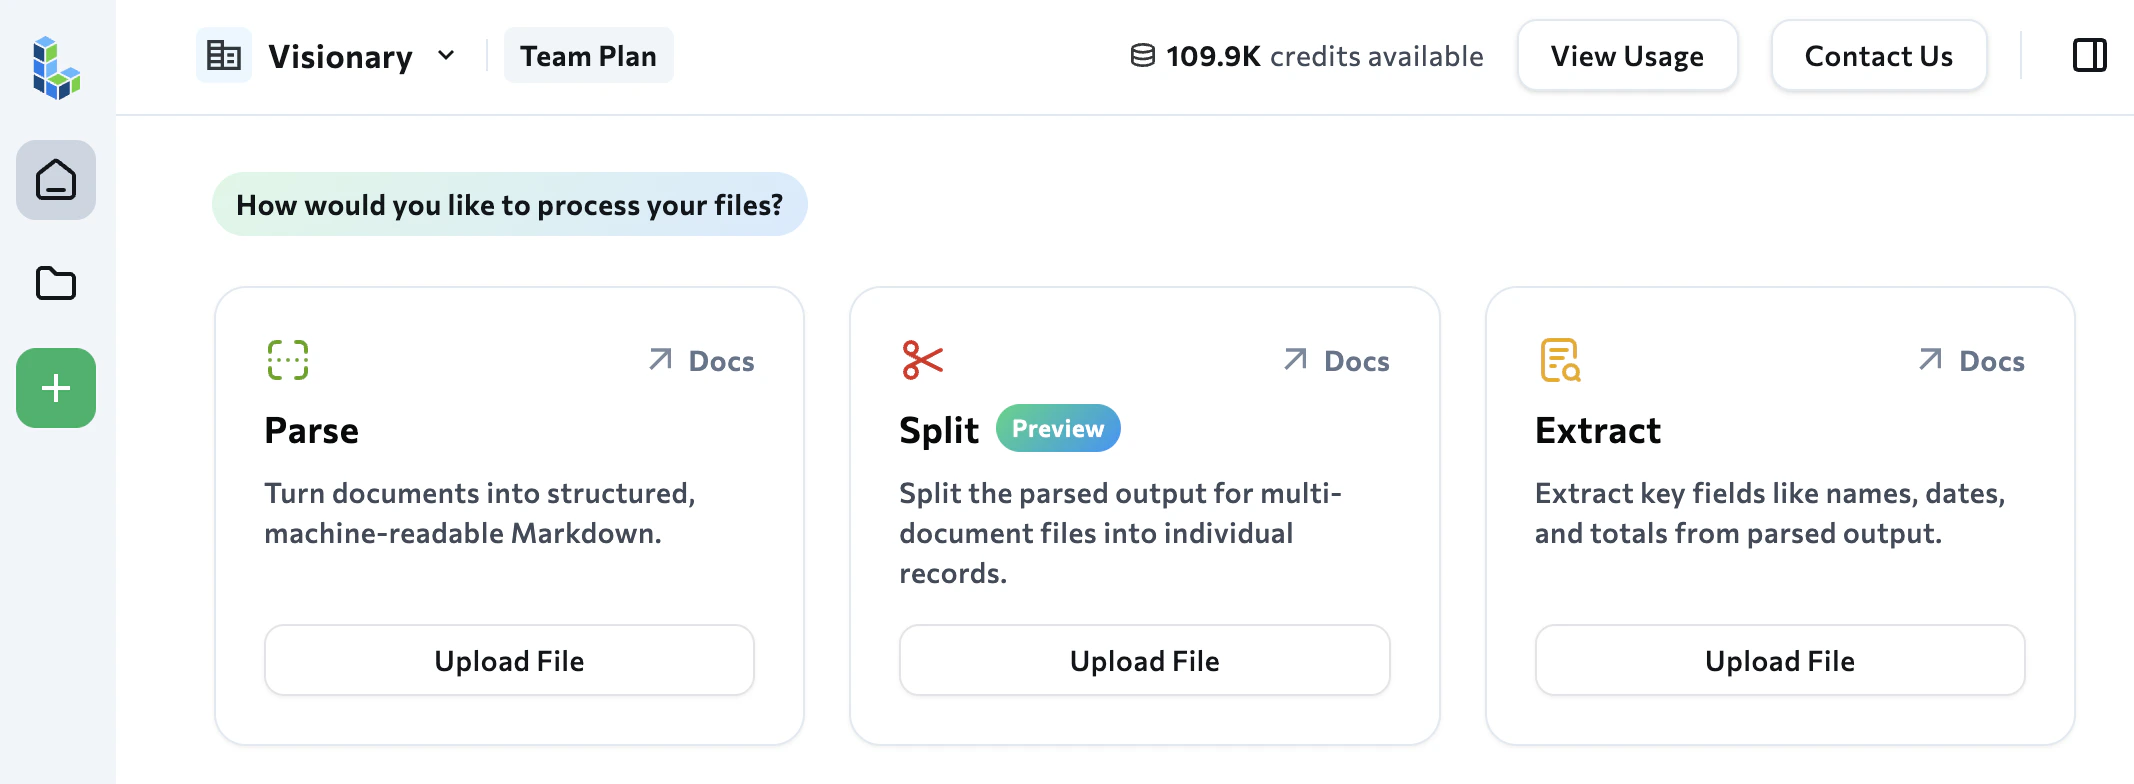
- Upload files and click Create Project. (Continue to the next step while the files are parsed in the background.)
- (Optional) Enter natural-language instructions for the extraction in the Guidelines text box. This can include:
- Data to include
- Data to exclude
- Context about the files
- Click Suggest Schema.

- The app reviews the files in the project and creates a master schema. Review the generated fields before continuing.
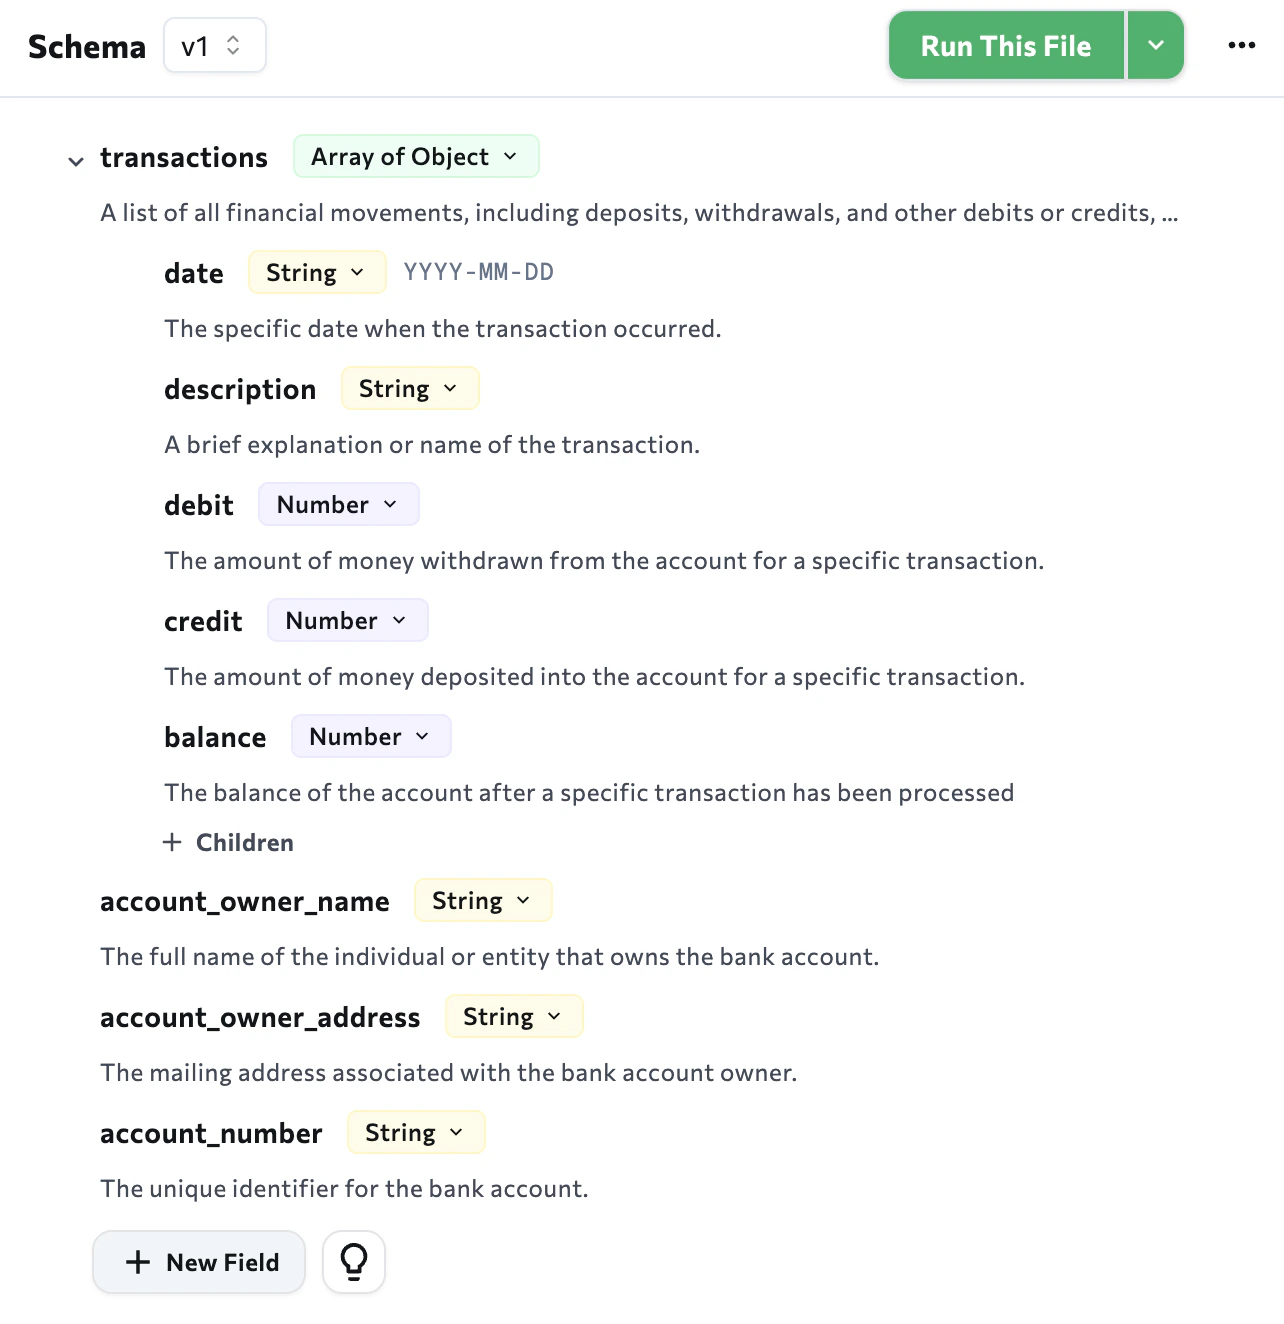
- Click Run This File to validate the schema on the selected file.
- When the schema is ready, use the schema.
Upload a Schema
If you have an existing extraction schema you want to edit, you can upload it to the Playground to validate it. You can then edit it just like any schema created in the Playground. Start a new project with your own schema To start with your own extraction schema:- Go to the Playground.
- Click the Extract tile.
- Upload files and click Create Project. (Continue to the next step while the files are parsed in the background.)
- Click Upload JSON Schema.
- Select the JSON file you want to load.
- The app loads the JSON file into the Schema panel.
- Go to the Playground.
- Open a project.
- Click the Extract tab.
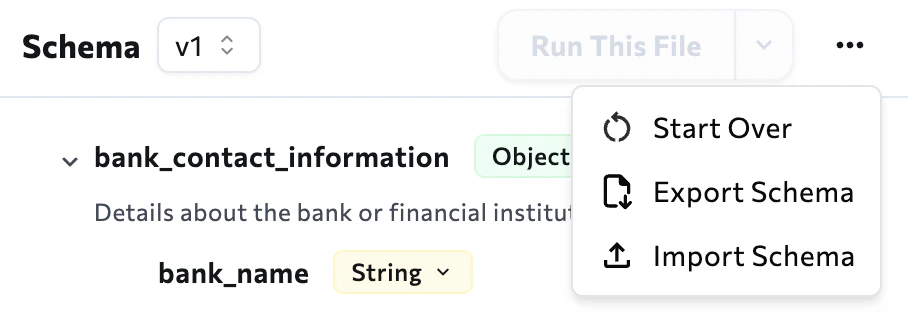
- In the Schema panel, click … and select Import Schema.
- Select the JSON file you want to load.
- The app loads the JSON file into the Schema panel.
Edit and Validate the Schema
After creating a schema in the Playground, you can edit and validate it. You can add fields, update descriptions, remove fields, and validate the full schema.Edit, Add, or Remove Fields Manually
Click a field to see and edit additional information, like the format, description, and alternative names. For detailed information about the field options, go to Extraction Schema (JSON). To add, edit, or remove fields:- Go to the Playground.
- Open a project.
- Click the Extract tab.
- If you have multiple versions of the schema, make sure that the schema you want to use is selected.
- Make your changes:
- Add a field: Scroll to the bottom of the Schema panel and click New Field.
- Edit a field: Click the field and update it.
- Remove a field: Hover over the field and click the Delete icon.
- After making any changes to the schema, click Update Schema.
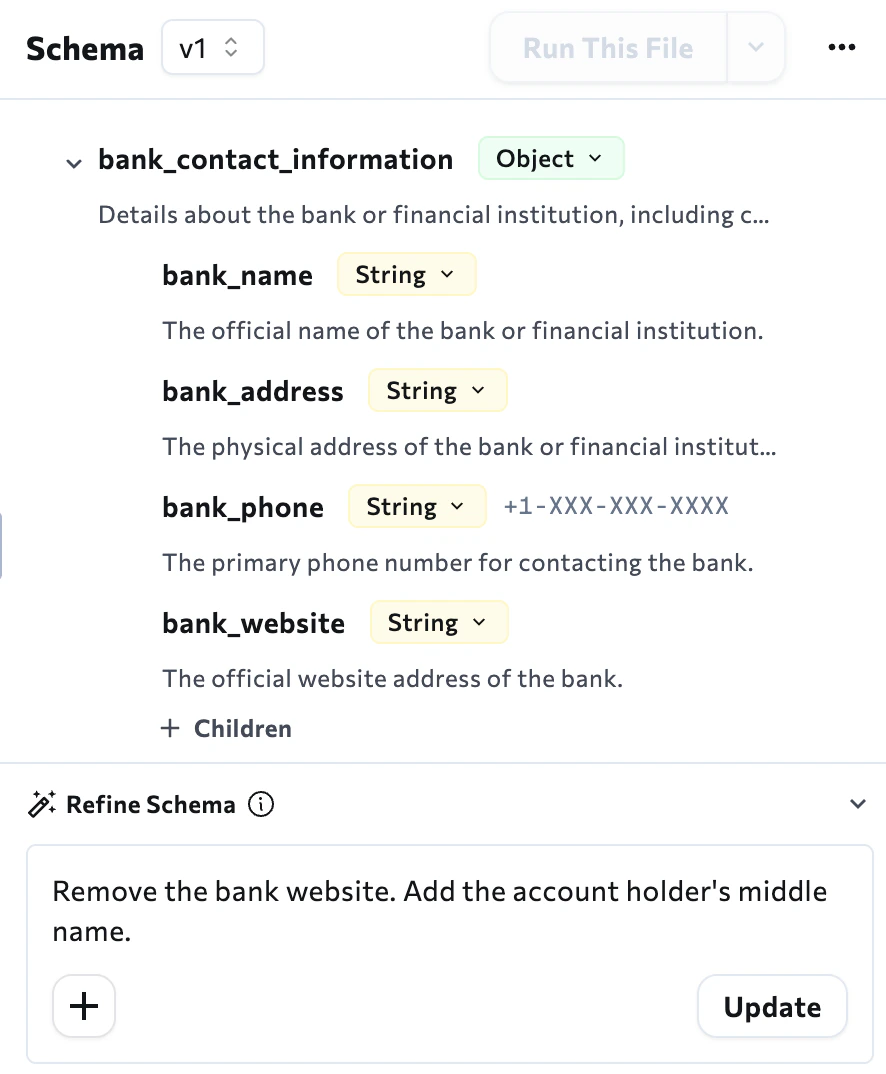
Refine Schema with AI
Refine Schema calls the API and consumes credits. See Build Extract Schema API pricing.
- Go to the Playground.
- Open a project.
- Click the Extract tab.
- If you have multiple versions of the schema, make sure that the schema you want to use is selected.
- You can do one or both of the following:
- Describe the edits you want to make in the Refine Schema text box.
- If you want to add more files that should be factored into the schema, click the + icon and select those files.
- Click Update. The schema updates based on the input you provided.
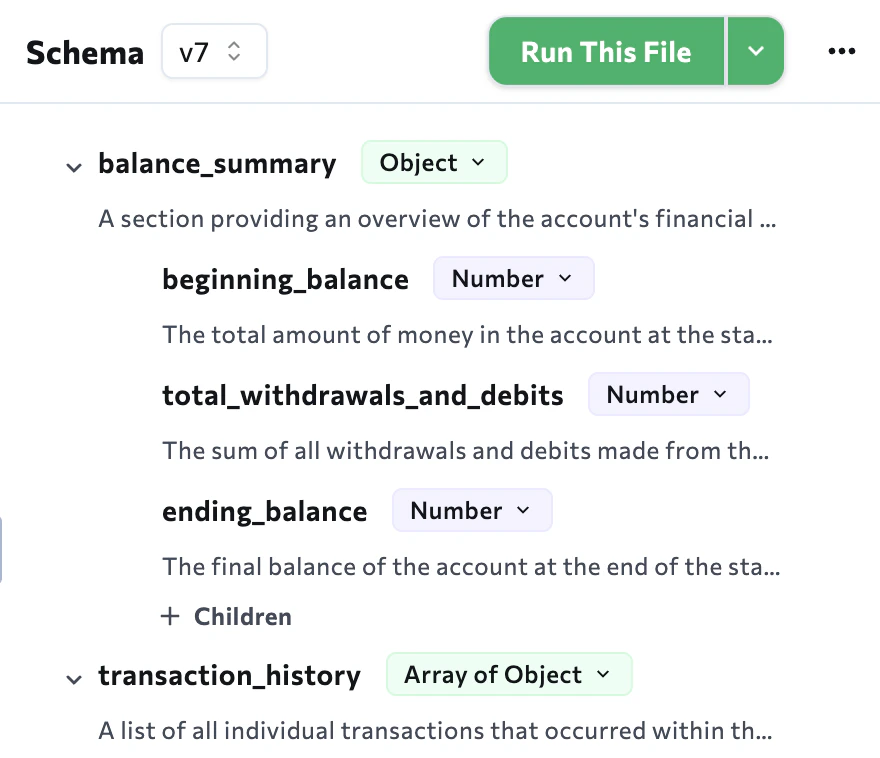
Run the Schema on Your Files
Run This File calls the API and consumes credits. See Extract API pricing.
- Go to the Playground.
- Open a project.
- Click the Extract tab.
- In the Files panel, select the file you want to run the schema on.
- If you have multiple versions of the schema, make sure that the schema you want to use is selected.
-
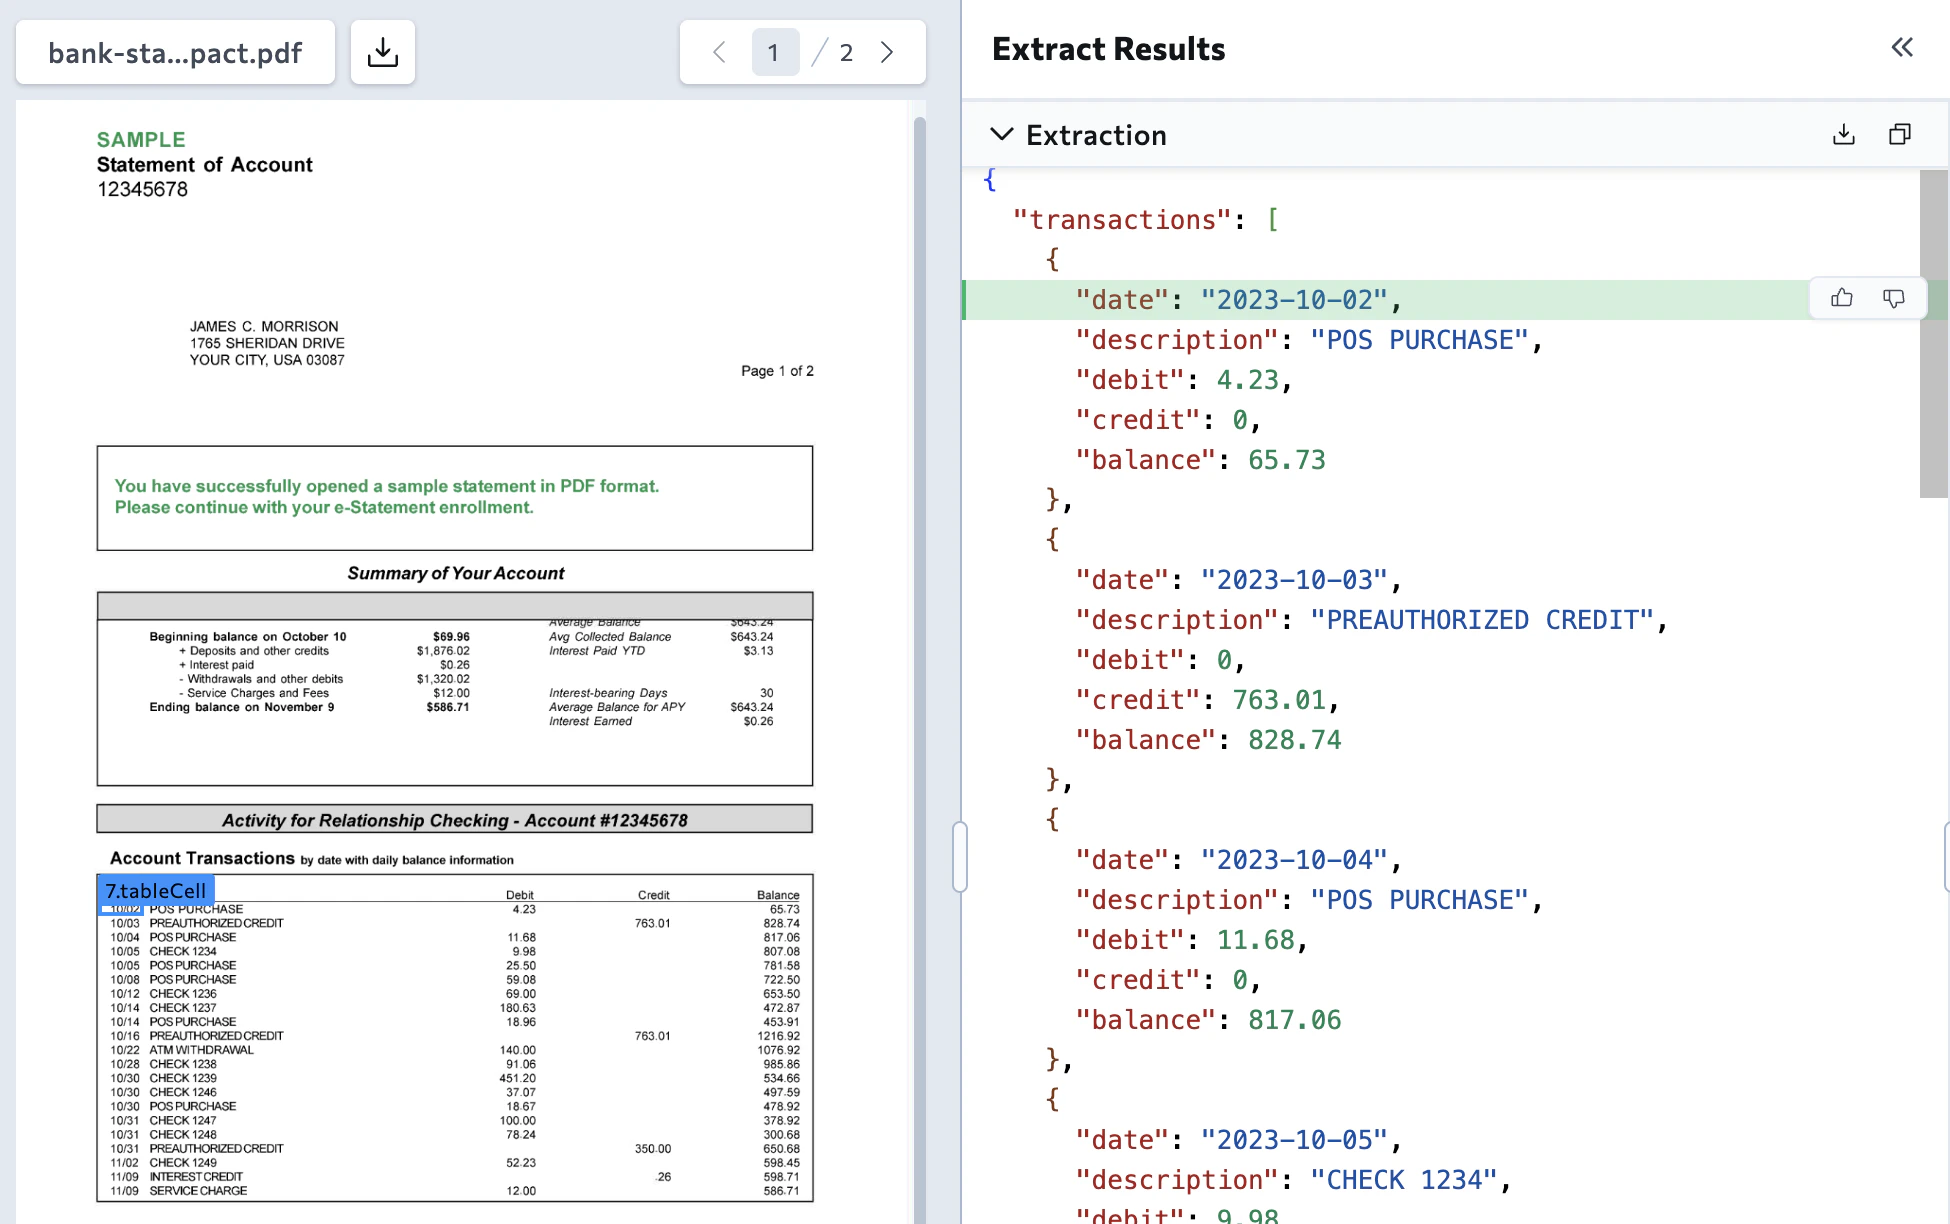
Click Run This File.
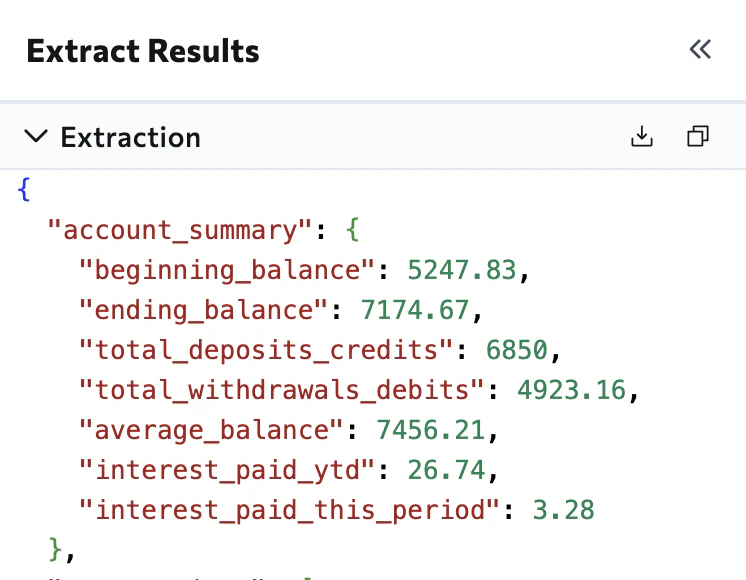
- Extraction: The list of extracted key-value pairs.
- Extract Metadata: The key-value pairs and their unique IDs (
references).

Start Over
After you create a schema, you can start over. This creates a new blank schema, saved as the next version, while retaining all existing schema versions. You can then manually add fields, refine the schema with AI, or import a schema. To start over:- Go to the Playground.
- Open a project.
- Click the Extract tab.
- In the Schema panel, click … and select Start Over.
- When prompted, click Start Fresh.
Use the Schema
After you create and validate a schema, you are ready to use it.- Get a Ready-to-Use Parse and Extract Script: Get a ready-to-use script for Parse and Extract that uses the schema you created.
- Export the Schema: Download the schema as a JSON file to use in your own code.
Get a Ready-to-Use Parse and Extract Script
After you create a schema, generates a script that covers both the and steps using the schema you built. The Playground provides two versions: one for calling the APIs directly, and one for the library. To get the script:- Go to the Playground.
- Open a project.
- Click the Extract tab.
- If you have multiple versions of the schema, make sure that the schema you want to use is selected.
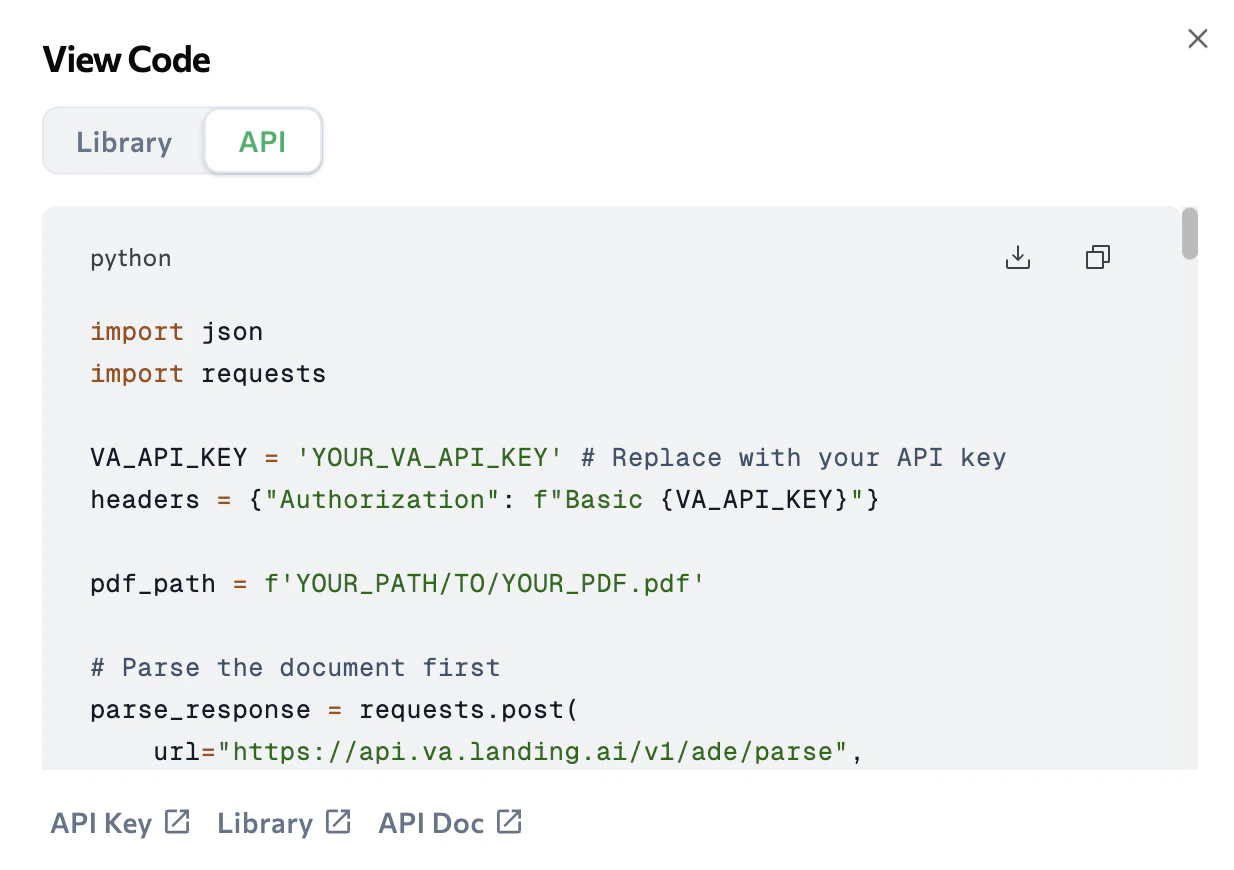
- Click Code.

- The View Code pop-up opens. Click the Library or API tab to see the code for each extraction method.
- Click the Download or Copy buttons to get the code.
Export the Schema
After you create a schema, you can export it as a downloadable JSON file to use in your own code. To export the schema:- Go to the Playground.
- Open a project.
- Click the Extract tab.
- If you have multiple versions of the schema, make sure that the schema you want to use is selected.
- In the Schema panel, click … and select Export Schema.
- The extraction schema is downloaded as a JSON file.
Schema Versions
The Playground saves a new version of the schema each time you run Suggest Schema, Refine Schema, or import a schema. Previous versions are retained even after you use Start Over. Use schema versions to compare results or roll back to an earlier version if a schema update doesn’t perform as expected. To view a previous version, click the drop-down menu in the Schema panel and select the version you want to see.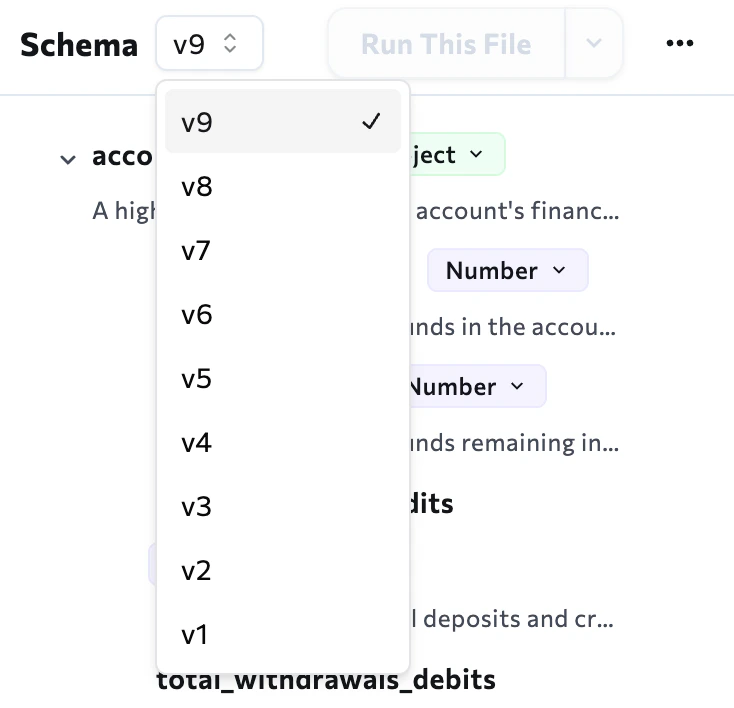
Download or Copy Extracted Data
You can download or copy extracted data directly from the Playground. This is useful for spot-checking results during schema development. For production use, retrieve extracted data through the API or library. To download or copy the extracted data:- Go to the Playground.
- Open a project.
- Click the Extract tab.
- If the Extracted Results panel doesn’t display, create or edit a schema and click Run This File.
- Click the Download or Copy buttons to get the extracted data.